Monday, January 31, 2011

Here is a link to Karin's blog. She is the brain child behind the V-Day box that I posted yesterday. This is also how I came up with the idea for the cupcake box. I hope you enjoy here site. Don't forget to come back soon. It has been requested that I post a tutorial for the cupcake box so I shall.

Have a great day!

Saturday, January 29, 2011

Spring Time Fun!

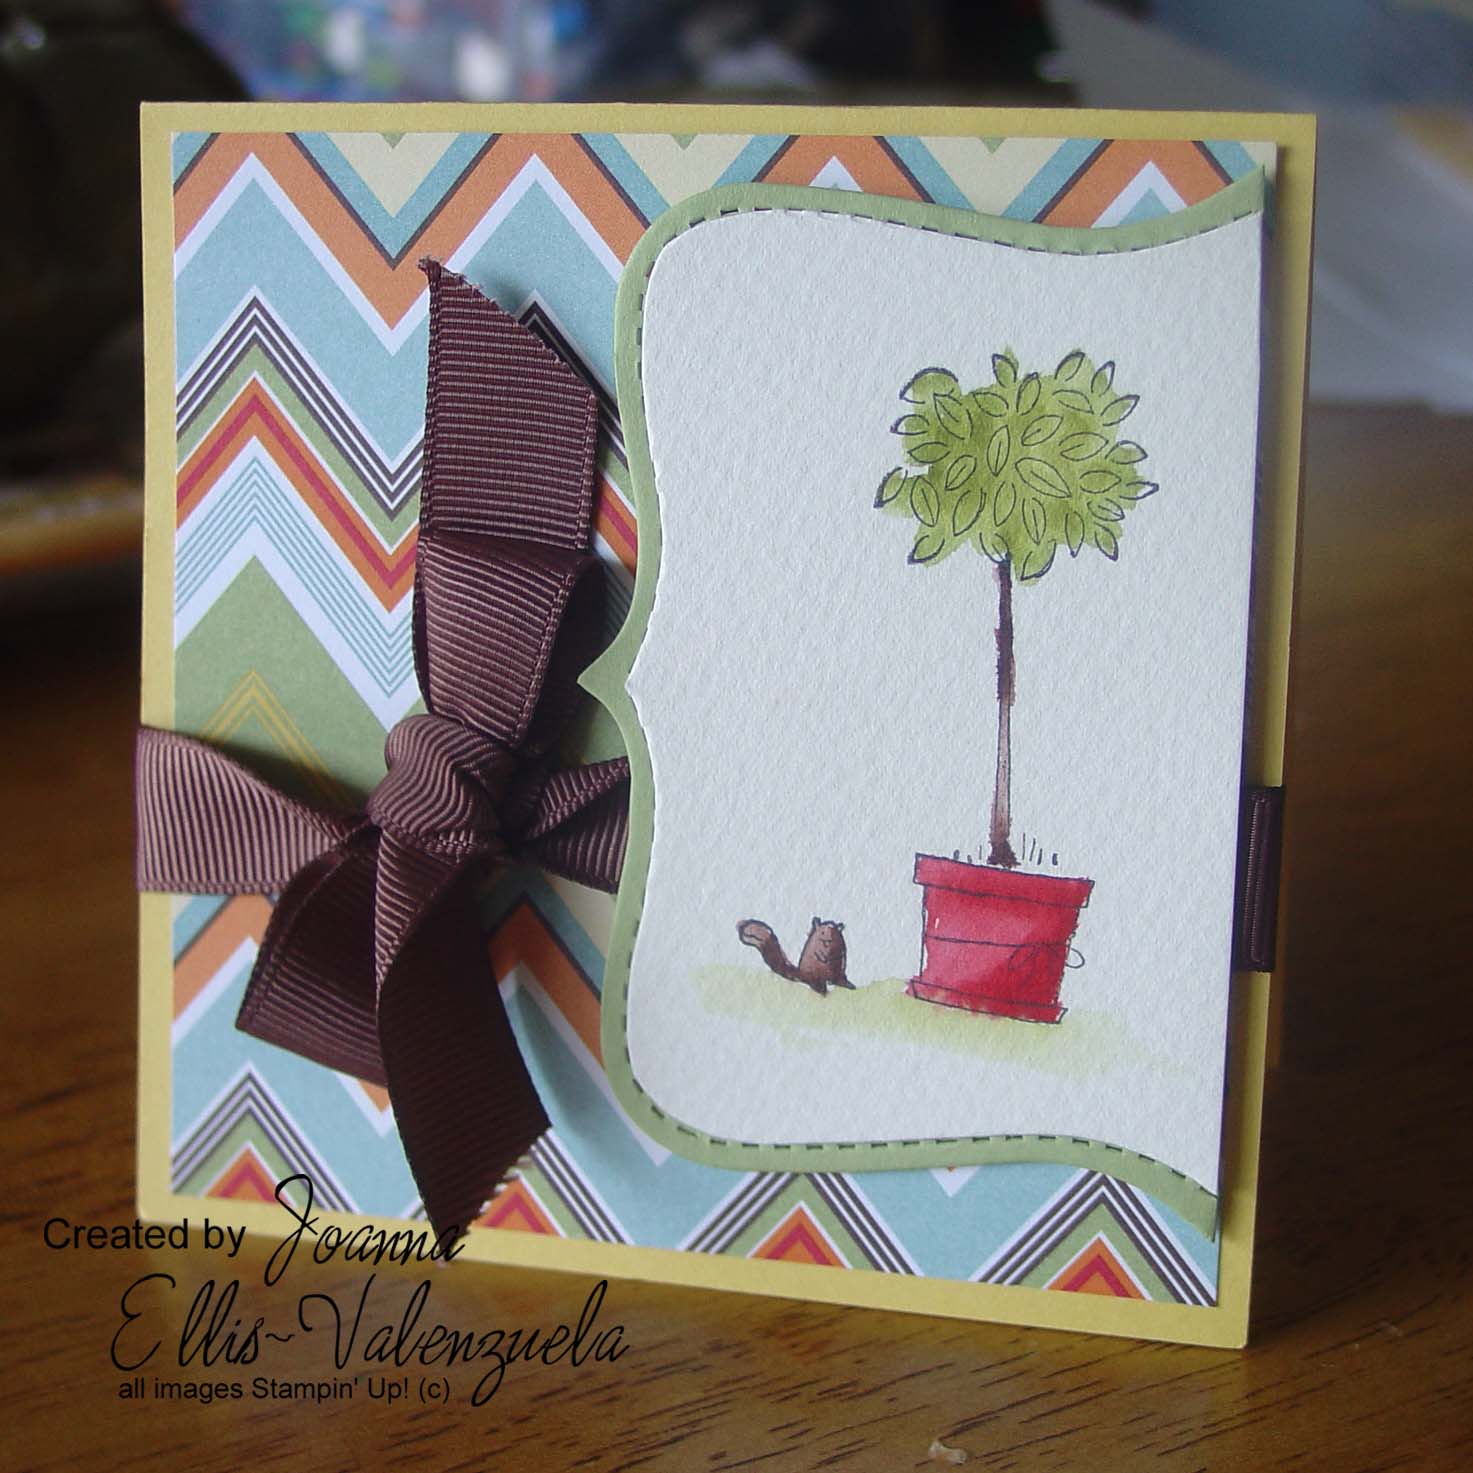
I've been busy working on a few projects these past few weeks. It took a while for me to get my new workspace set up and organized. I'll post pics as soon as I get it clean again.

Valentines Day is getting close and I just finished putting together
Zachary's classroom valentines. I have to stuff them with goodies but they are finished. I used a craf
t envelope to make a pouch then aded the paper twine and robot. I love the "Best Bots Forever" set. to make the background I simply placed all of the robot body parts one one large acrylic block and created my own background stamp. Love the new cling mount stamps! I also made a V-Day card on the fly by request. One of Zaldy's cousin
s needed one for her beau. I hope he likes it (pink robot card). Th
e small box was made with the new "First Edition" paper in the Occasions Mini, "News Print" paper in t
he Idea book and Catalog, Rose superfine glitter and rose seam binding, also in the occasions mini. i found the flowers and floral supplies at the local craft store. It was fashioned after some boxes that I made at a class that I took at a local craft store. It was such a blast. The ones that we made in the class were a little simpler. What took this one longer was the 3D hear on top that I sculpted from styrofoam
and then deco-podged the "First Ed
ition" paper onto. The seam binding ribbon and crepe paper were gathered using my sewin
g machine. "Sew" easy.
The new Minis have so
many wonderful product I cannot wait to use them all.

I also had fume making a b
ox that looks like a cupcake from the new "Ice Cream Parlor" DSP and buttons both av
ailable in the "Sale-A-Bration" mini. I gathered the Satin ribbon just like on the other box and hot glued it to half of a styrofoam ball. Add a few "sprinkle" buttons and a candle and it looks too good to eat.
The bird cage is a project that I had been wanting to do for a while. I have had the little fairy figurine for a while and have always anted to make a home for him. One day I was at Micheal's and they had everything I needed to bring that picture in my mind to life. Now I have something prety to look at while I work. He sleeps on my desk and makes me smile every time I see him.

Here's looking forward to spring.

Friday, August 20, 2010

"Squeaks"


August is almost over and this means the summer mini is too. This card was made with a stamp set from the mini called "Bouquet Bunch."
I used Stazon ink on watercolor paper and a few Stamp-n-write markers to add color. I then used a water color pen to "smoosh" the color around. Instant art! The squirrel is so cute, I will name him Squeaks.
Thanks for stopping by.

Sunday, August 8, 2010


Howdy friends! What a weekend I had. I had a Workshop on Friday night. It was so much fun meeting new friends and stamping the night away. Saturday was the big Friendship Festival on Yokosuka Naval Base, Japan. I was there all afternoon, after sitting an hour and a half in traffic. My FRG had a booth selling Texas Nachos. Yummo! Sunday was spent catching up on some house work and starting the clean out process. Moving can be a bit stressful but now I have the chance to do a lot of purging.

Any How... here is another sample for you today. This one feature the new "Aviary" stamp set From Stampin' Up! and the "Curly Cute" set as well. It also uses the new "Sweet and Sour" paper. This card was so easy and cute to make. It is a 3x6 card instead of the usual 4.25x5.5. I like this card size not only because it is different but because SU sells envelopes for this type of card. The designer series paper is extra special. On one side of each double sided sheet it has a glossy finish. This paper is so gorgeous and I love that is uses only three colors, Pumpkin Pie, Rose Red, and Very Vanilla. makes it easy when deciding what ink colors to use.

Thanks for stoppin' by.

Card Recipe:
Stamp sets: Aviary, Curly Cute.
Paper: Whisper White, Daffodil Delight, Sweet and Sour Specialty DSP.
Ink: Rose Red, Daffodil Delight, Pumpkin Pie.
Accessories: Stampin' Dimentionals

Tuesday, August 3, 2010


Here is one of my latest cards using stamps and paper from the new catalog. I just love this stamp set "Calendar Kids." The four images are so cute and they hearken back to times long past with their vintage feel. they work so well with the other vintage sets in the catalog such as "Artistic Etchings" and "Notably Ornate." The patterned paper in this card is from the "Newsprint" Designer Series Paper pack and also has that vintage feel. The funny thing about this particular piece of paper is that on the opposite side there is a a bold reverse print with the name "John F. Ellis." I don't know what his middle name is but I have an uncle named John Ellis. As fun as it would have been to use that on this card, it was a bit to dark for it. the wonderful thing about our double sided paper is that there are two sides to chose from. This card also uses the new vintage brads, trinkets and crocheted ribbon. Beautiful!

Paper: Blushing Bride, Newsprint DSP, Very Vanilla, and Water color paper.
Ink: Craft Vanilla, Basic black (Stazon would have been better for the girl), Blushing bride, Rose red, Chocolate chip (hair) and Blush Blossom marker (still available) for her face.
Accessories: Black Satin Ribbon, Trinkets, Antique Brads, Victoria Crochet Trim. Water color pens.

Hostess Special!!!

Dates: July 27-August 31, 2010

Details
Hostesses will receive an additional $25 in hostess free merchandise dollars when they hold a workshop totaling $350 or more!

This is a great promotion right now. This means that with a $350 workshop you will get $40+$25= $65 free product from any of our current catalogs! Awesome!